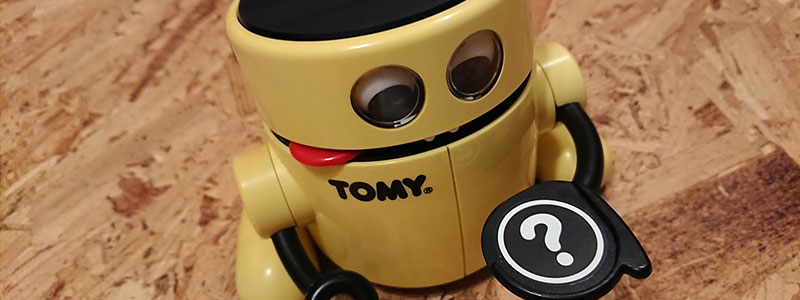
Tomy Mr Money Google AIY Assistant
If you are a regular MagPi magazine subscriber, you’ll know in issue 57 they had their most popular giveaway with the Google AIY Project Voice Kit. Unfortunately, I was one of those unlucky people not to get my hands one. After seeing all the fun everyone was having on twitter though, I decided to do what I do best and make my own. Now, if you know me at all by now, you know I like my retro tech, so for this project, rather than just creating a plain old box for it I decided to repurpose another beloved 80s toy of mine, my Mr Money moneybox. The result? Hilarious :D

The Build
The Core
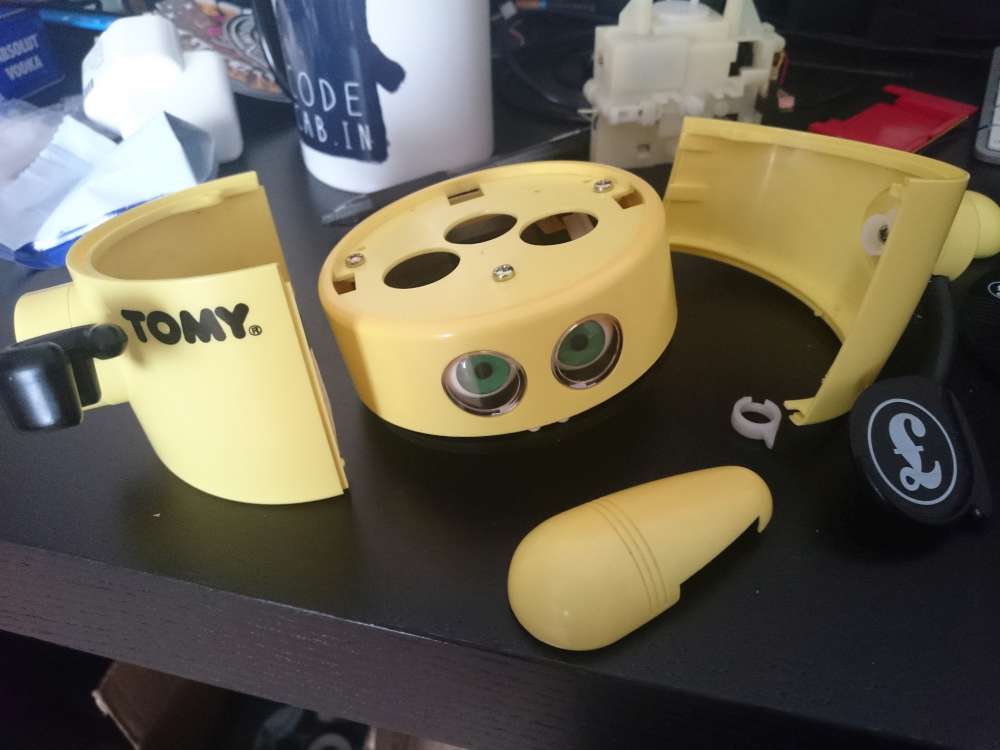
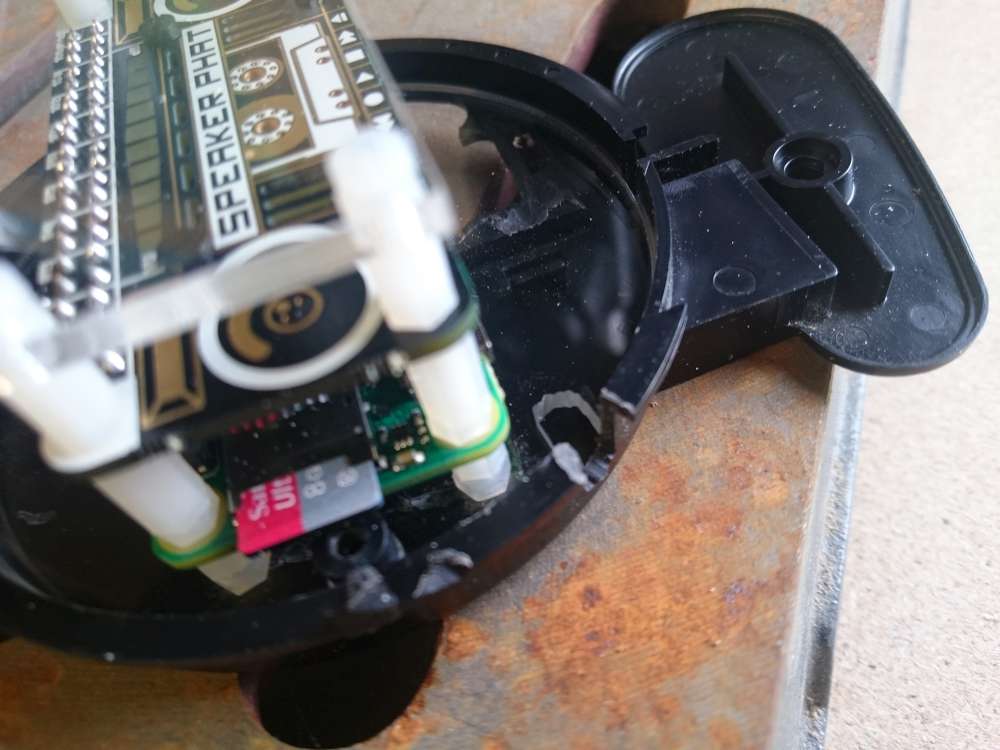
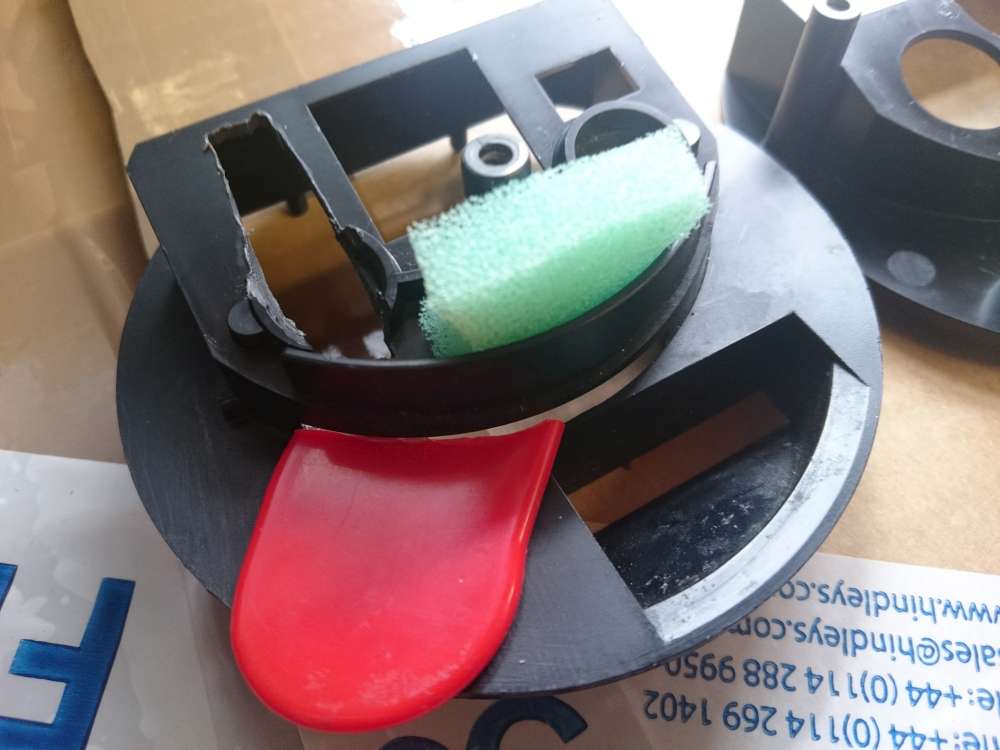
To start with, I carefully opened up my Mr Money money bank and removed all the insides to leave me with the basic shell. The inside surface of the base was pretty uneven, so I started by cutting a circular piece of acrylic to place on top of this to give a nice clean surface on which I could mount all the internals components.


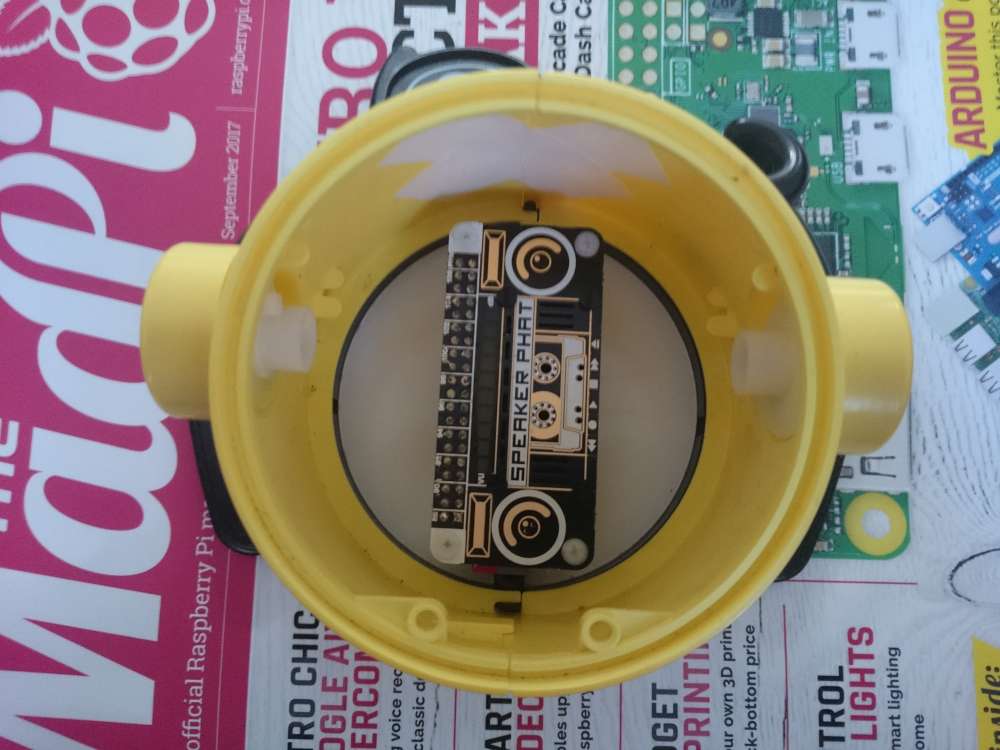
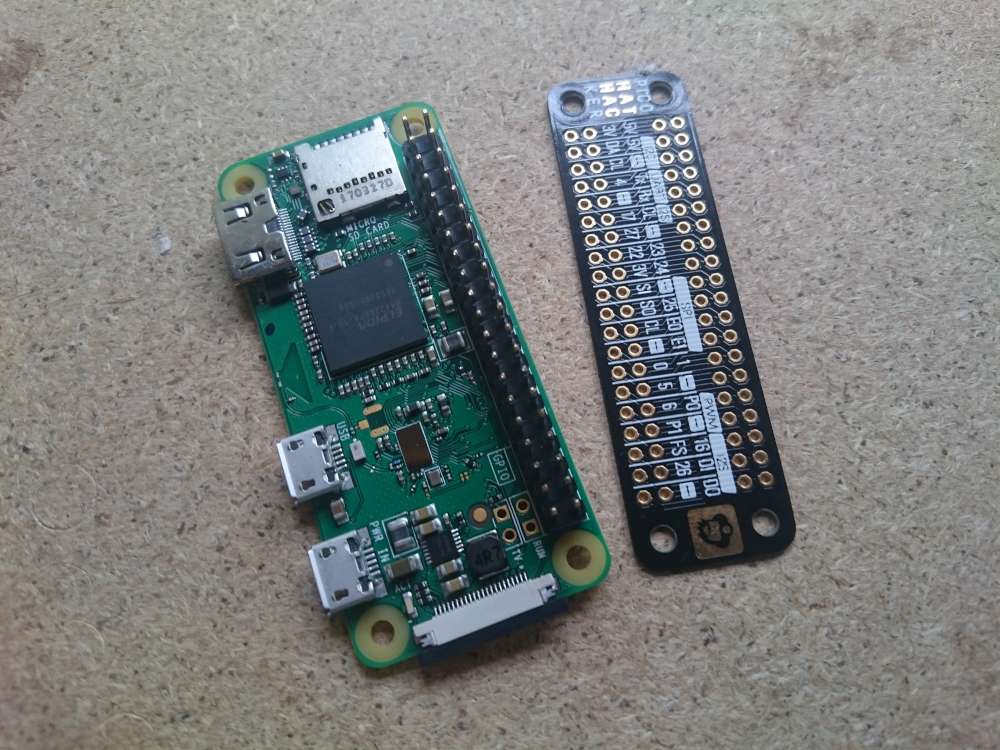
Given the limited internal space, my only choice was going to be a Raspberry Pi Zero. Thankfully the new “W” versions have wifi built in, so this allowed me to leave the USB port free for a USB microphone.
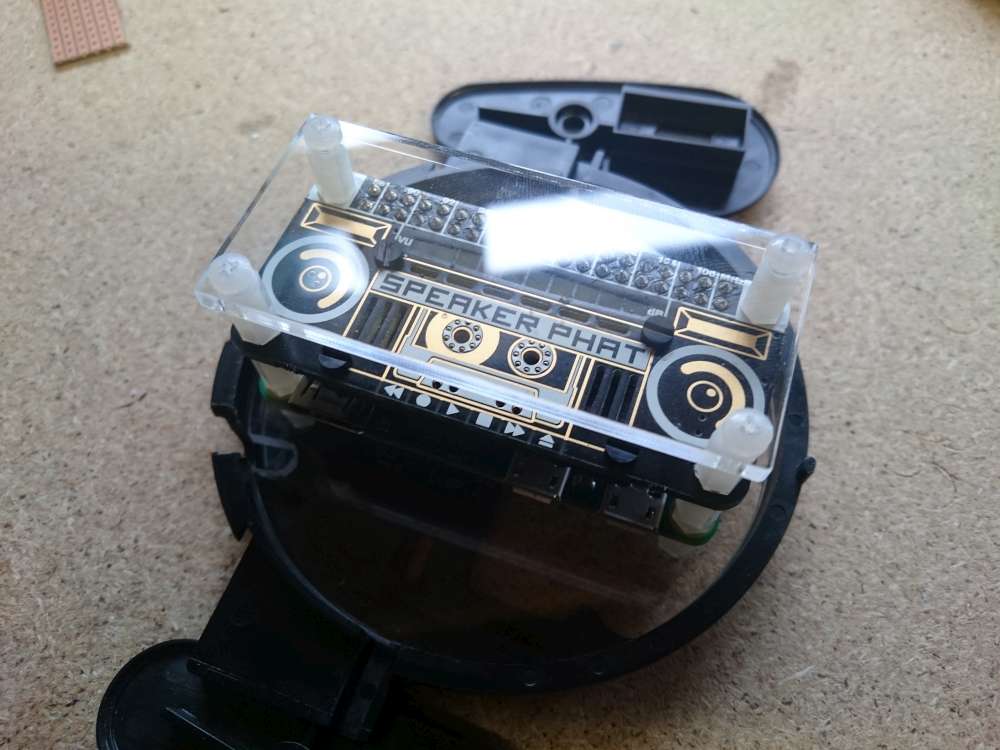
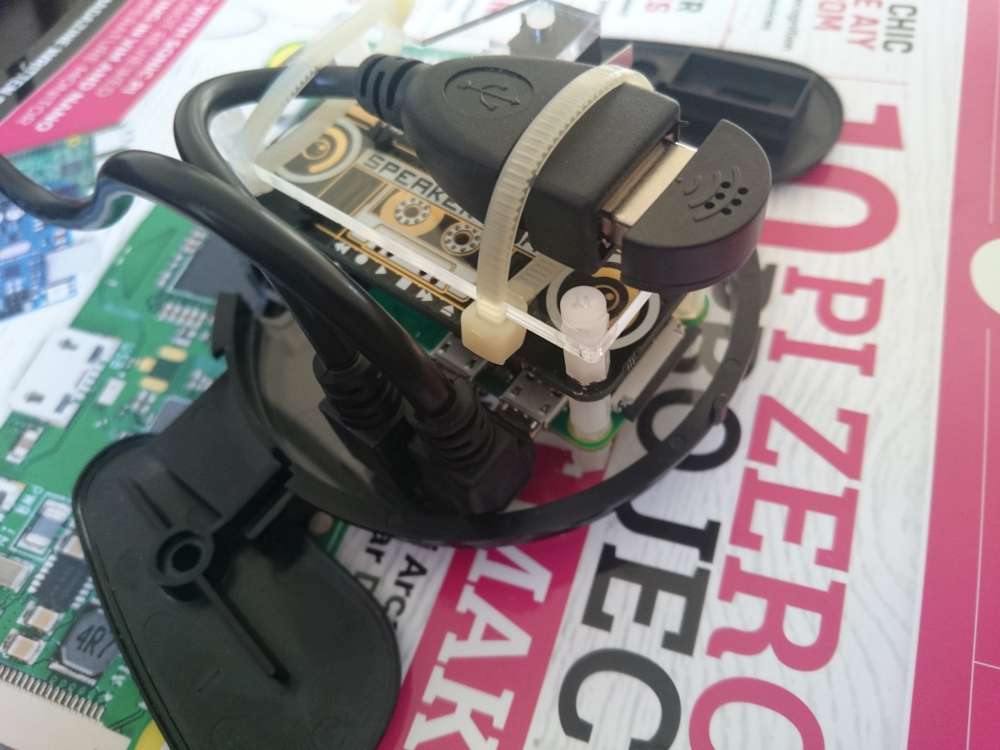
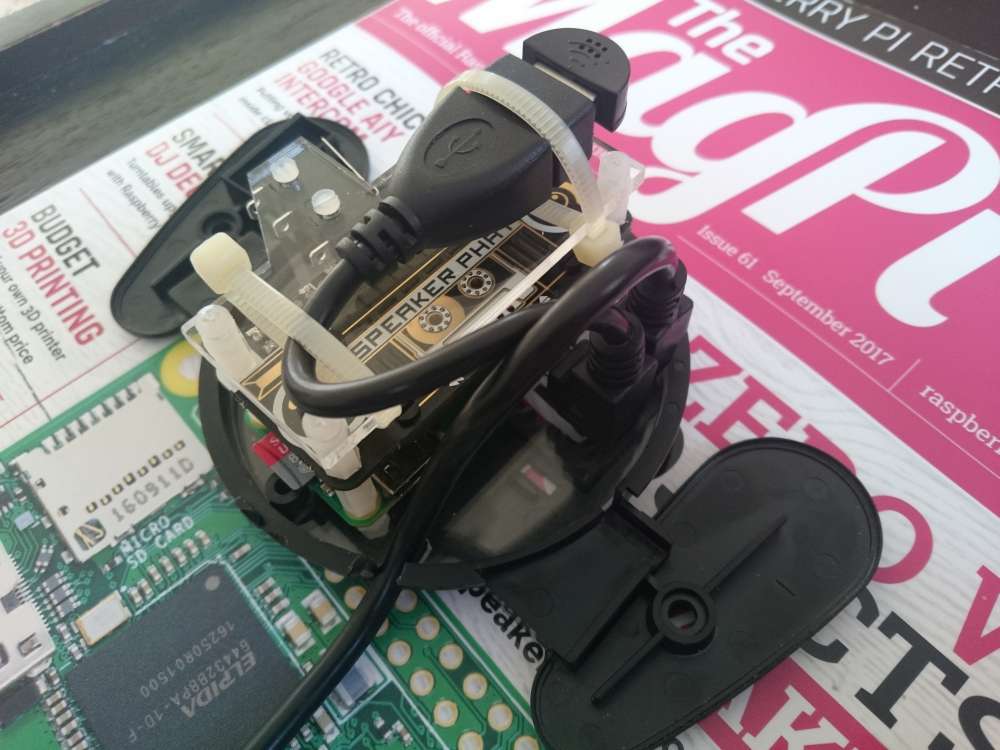
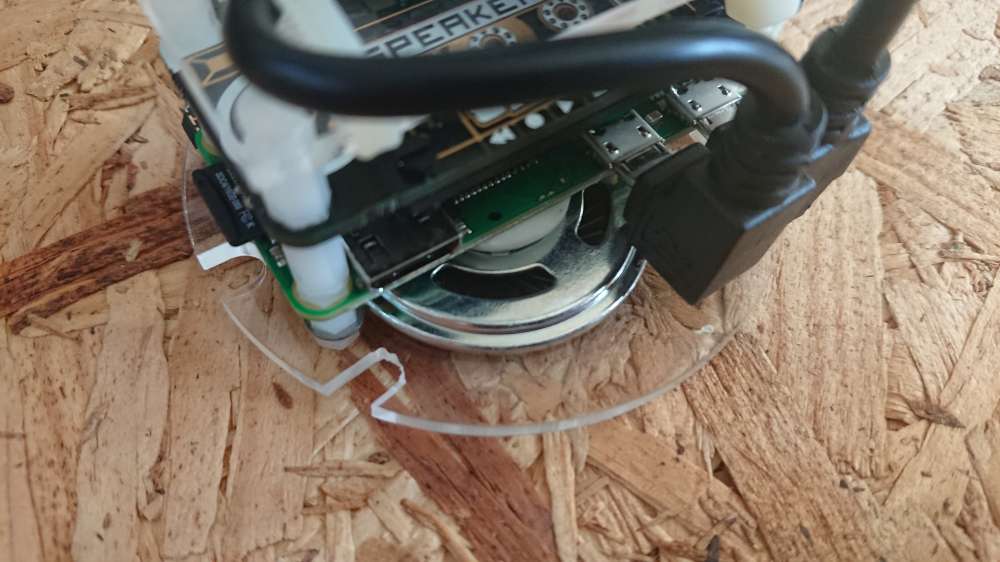
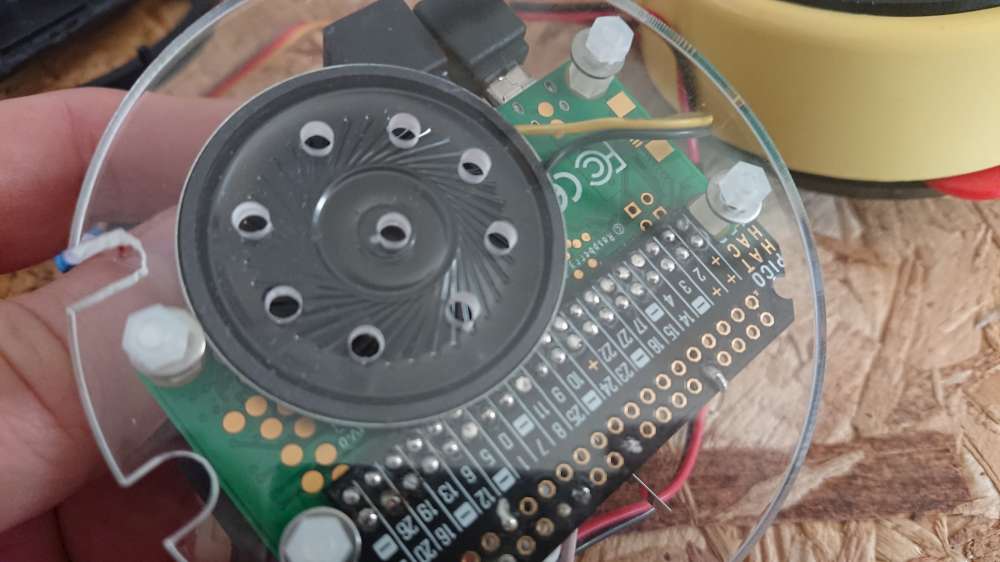
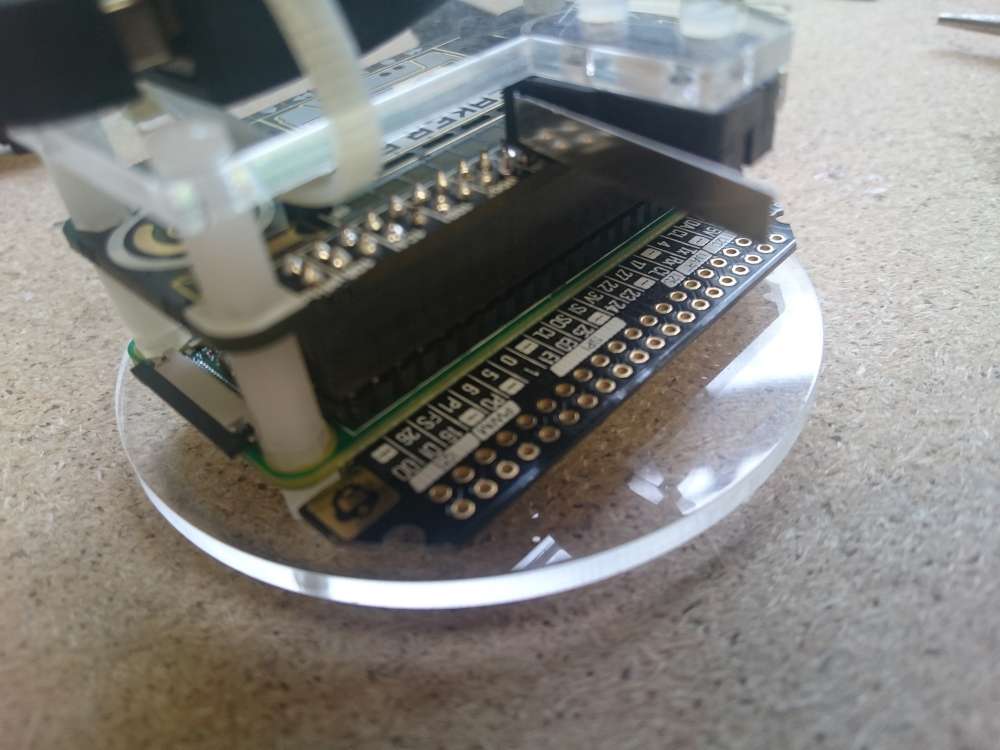
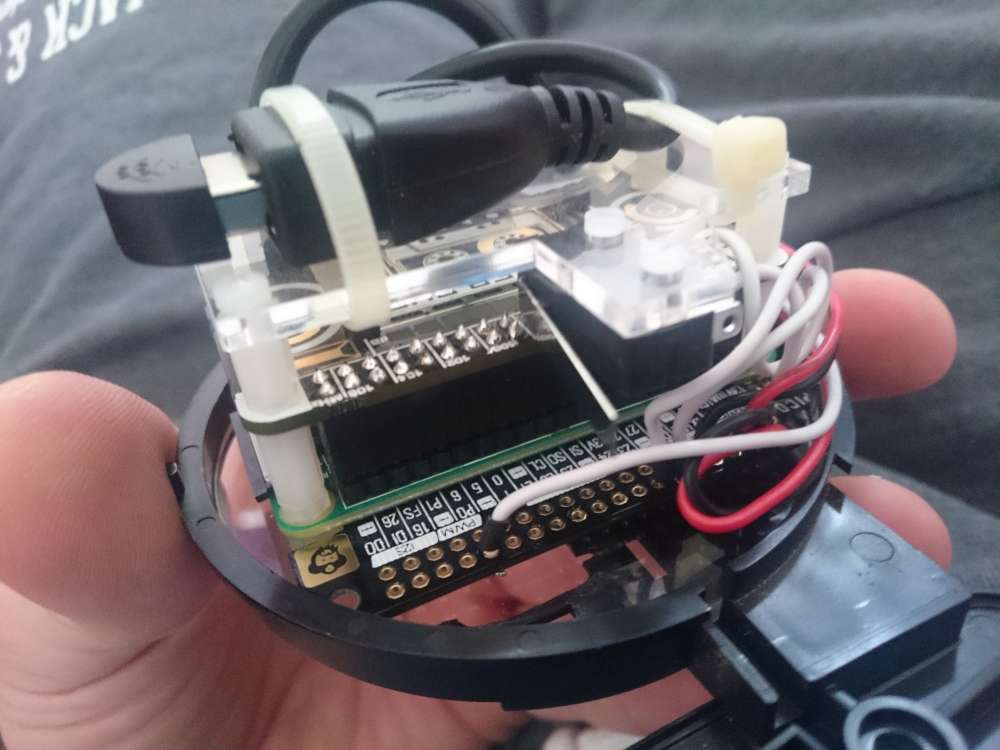
Even using a Pi Zero, placement of the Pi was still pretty tight, so the only real option was to mount it centrally. I knew I was going to need space either side for cables and things, so this dictated that it would need to face front to back. To fix into place I used some nylon stand offs and stacked the Speaker pHat on top. On top of this, I added an extra plate to allow me to zip tie the mic to it, which I connected to the Pi via a short micro USB to USB female cable. Finally, a short right angled micro USB extension cable was fed out the back to act as a USB power connector.
The Arm
If you are familiar with the original Mr Money, you’ll know his arm was spring mounted to feed money into the money bank. Well, this seemed a prime candidate to convert into the button to trigger the AIY into action.
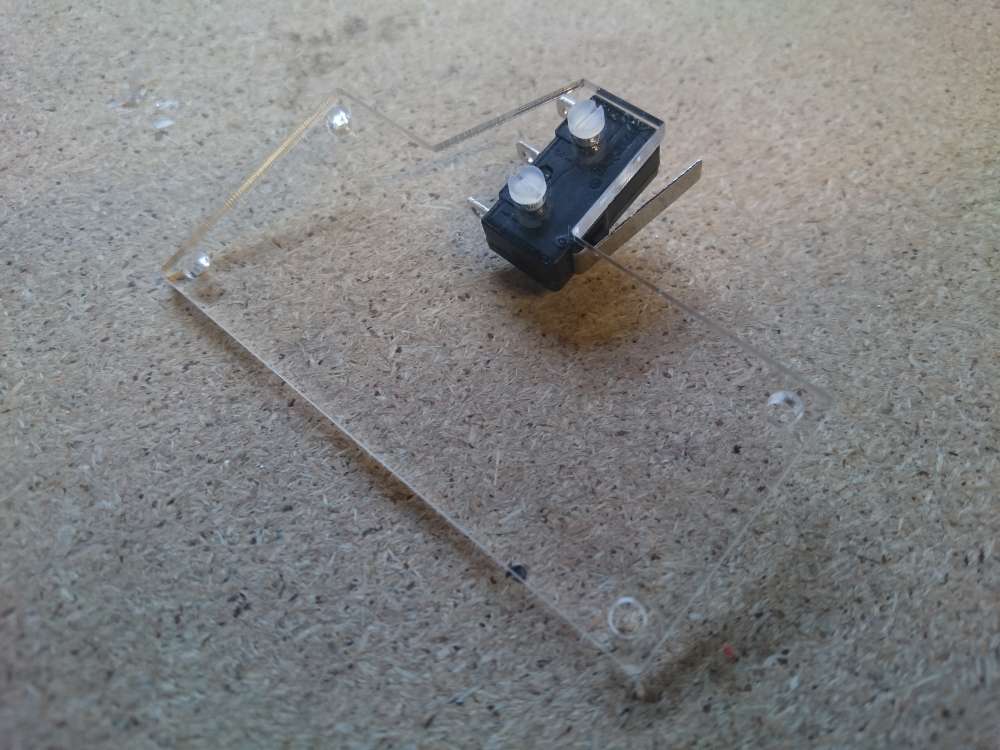
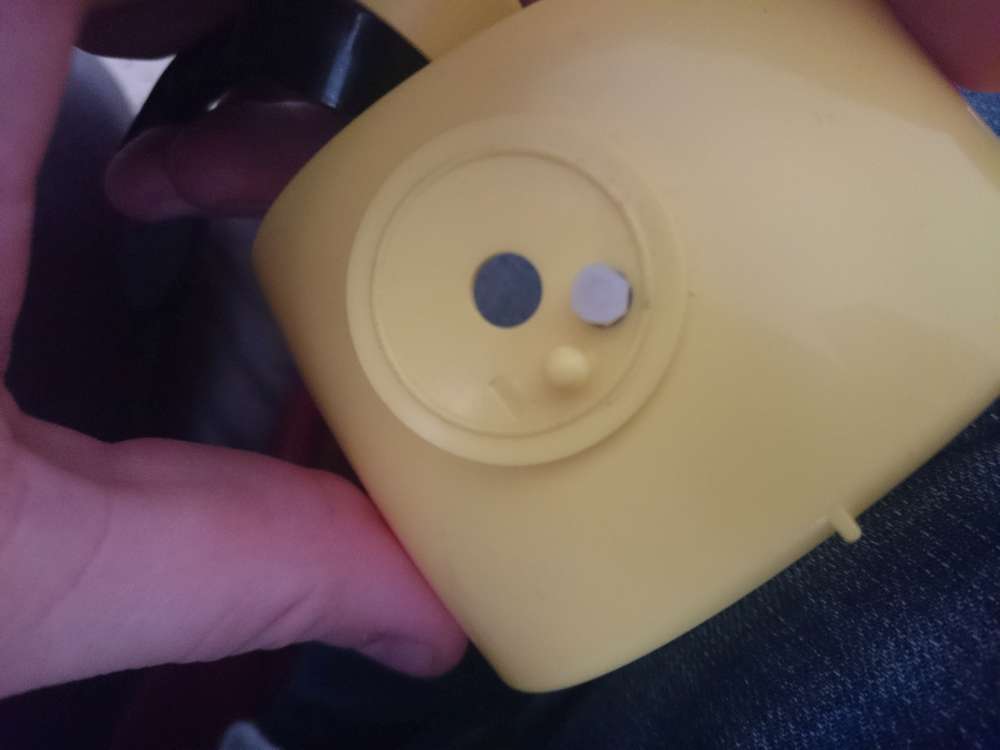
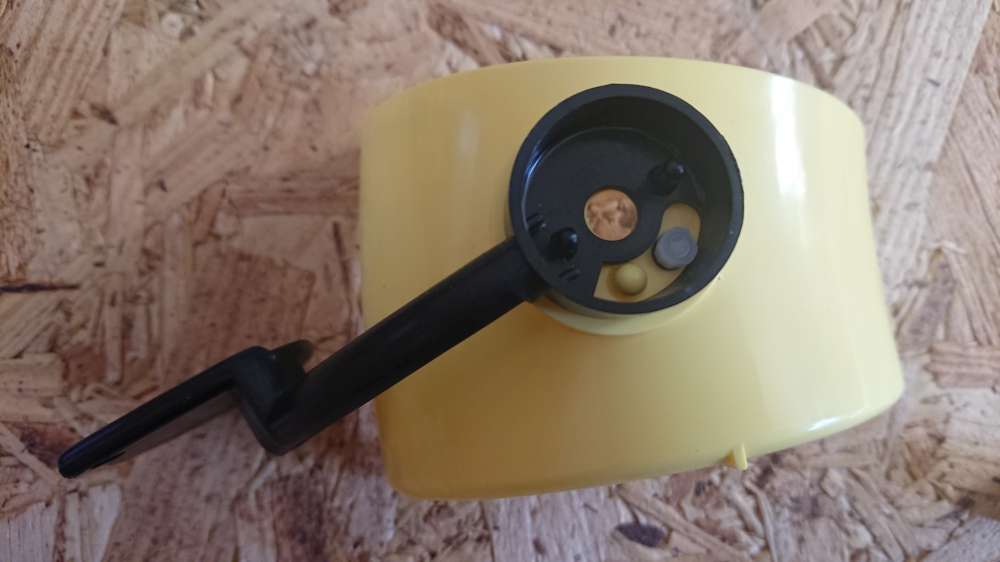
Looking inside, there was already an attachment to the arm socket with a little nub which triggered a switch from before (though it wasn’t permanently attached so I JB Welded it) which luckily was at just about the same height as the top plate, so re-cutting a new top plate with a “wing” created a perfect mounting position for a micro switch. I love it when things just line up :D


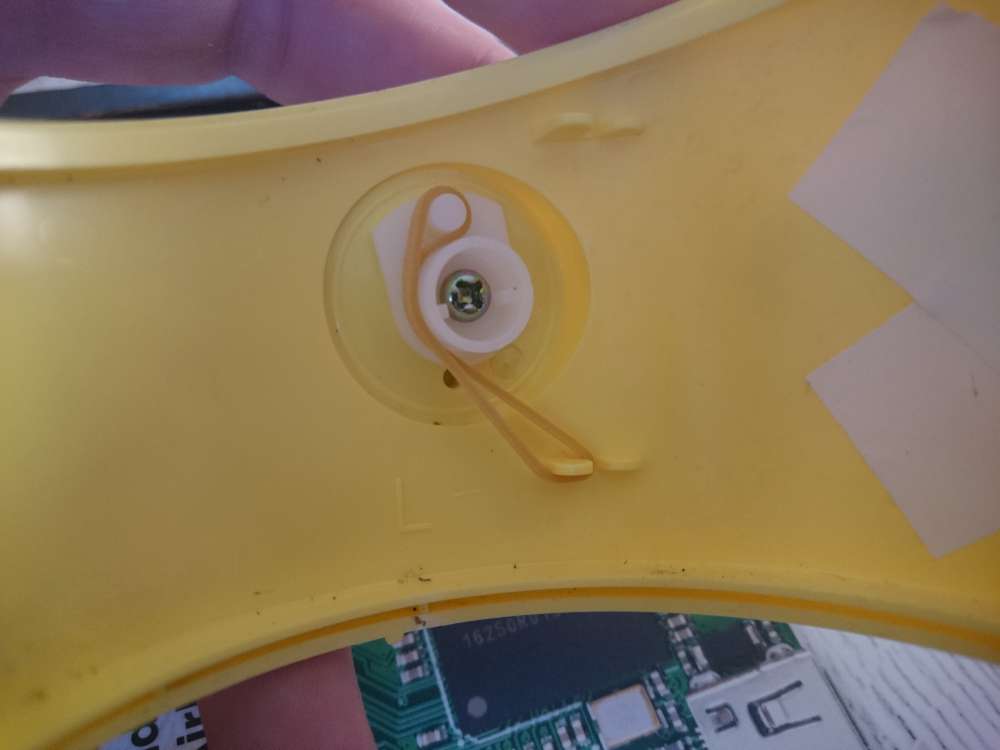
Whilst the arm was originally spring mounted, unfortunately the spring mechanism was part of the guts of the original toy which I had removed so I had to come up with an alternative. On inspection, there were a few nubs on the inside of the chassis and on the arm socket which I could just fit a small rubber band around so this worked great.
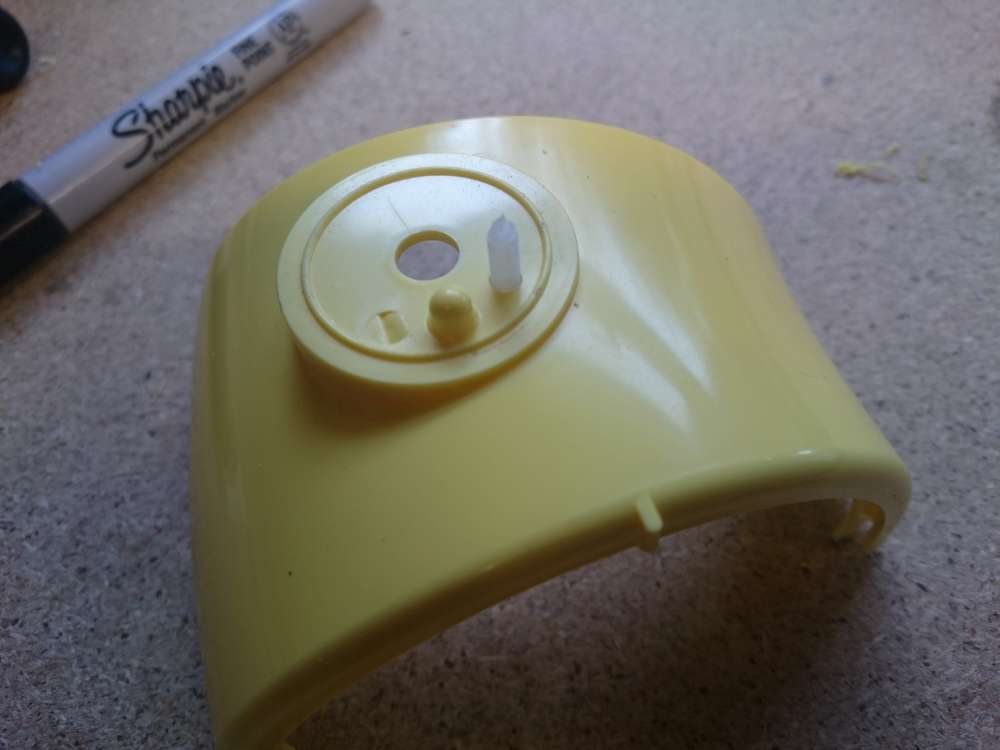
On testing the arm though, I found its travel was a bit too much. Before, it used to feed money into the mouth, so it needed to go pretty high, whereas now I really just wanted it to stop at body level. Looking inside the arms shoulder cover, I noticed this is where they limited this before with another nub to stop the arm traveling too far. To limit this further then, I drilled a small hole a little further in and JB Welded a small nylon shaft to act as a new nub.
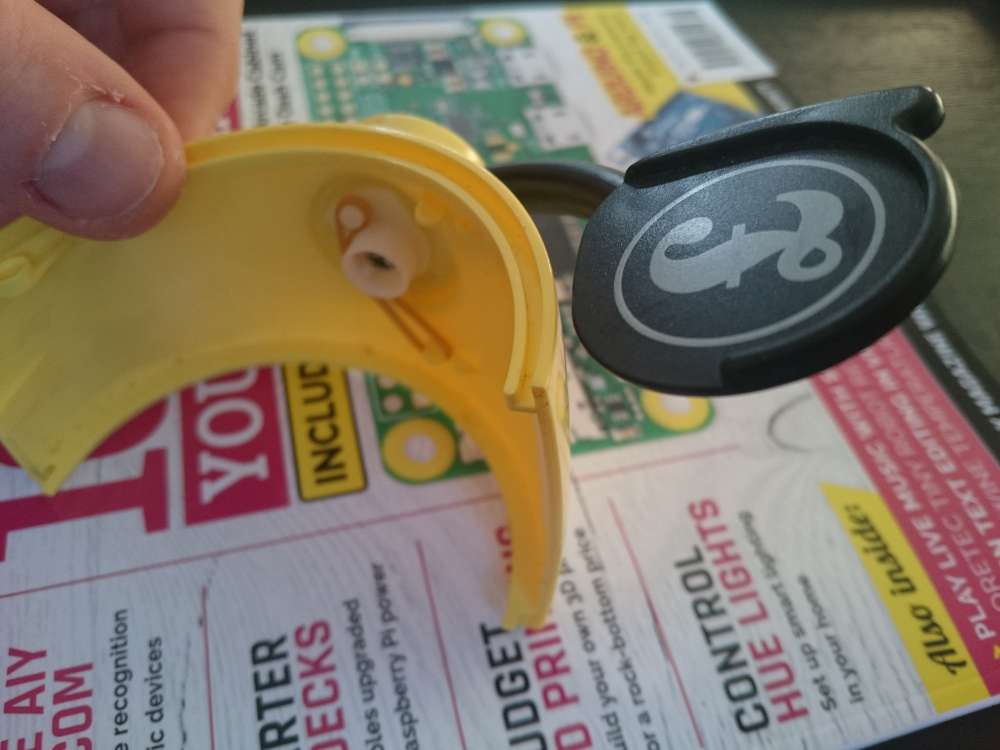
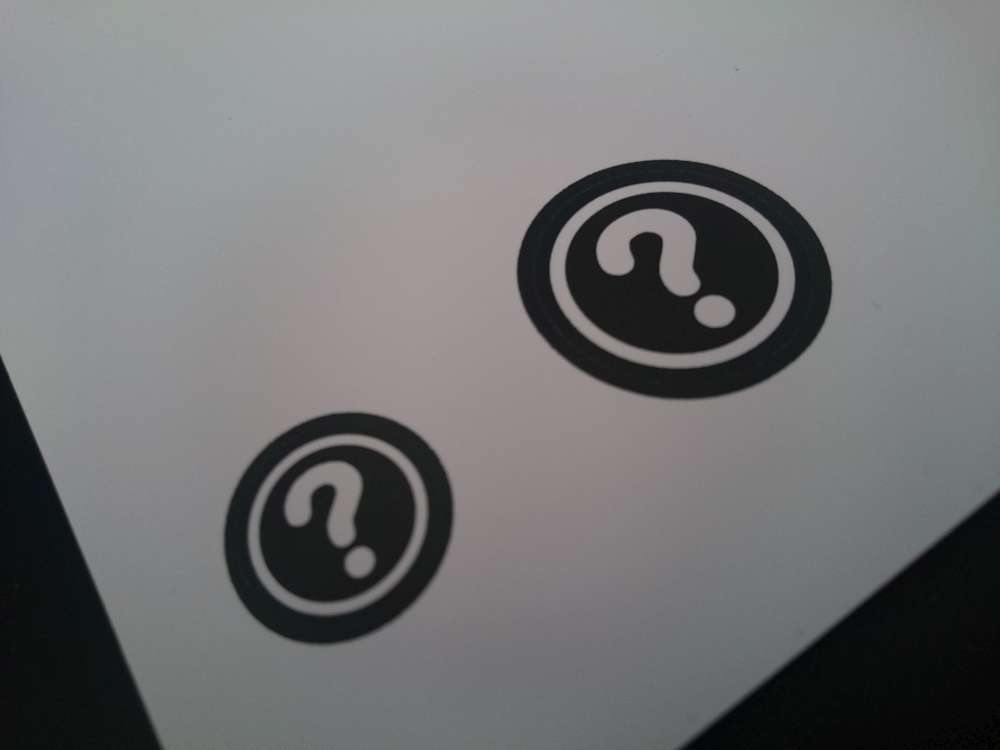
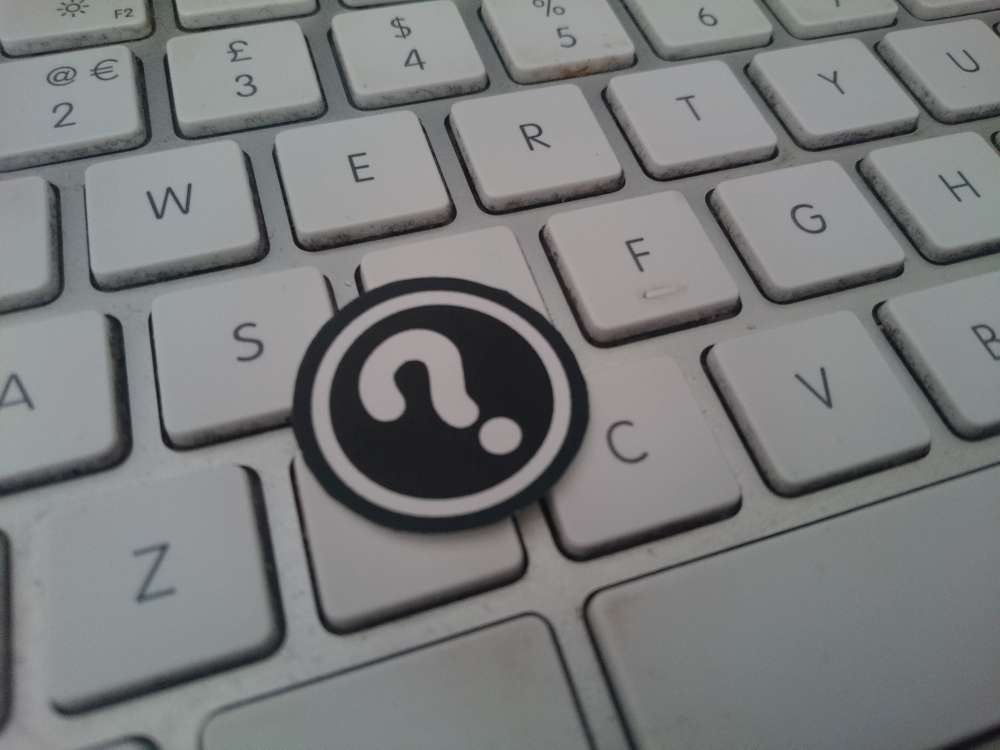
With the arm sitting where I wanted it, and suitably springy, the final touch was to change the old “£” sign printed on the hand, to a question mark which I did by printing a replacement onto some sticker vinyl and cutting it out by hand.


The Head
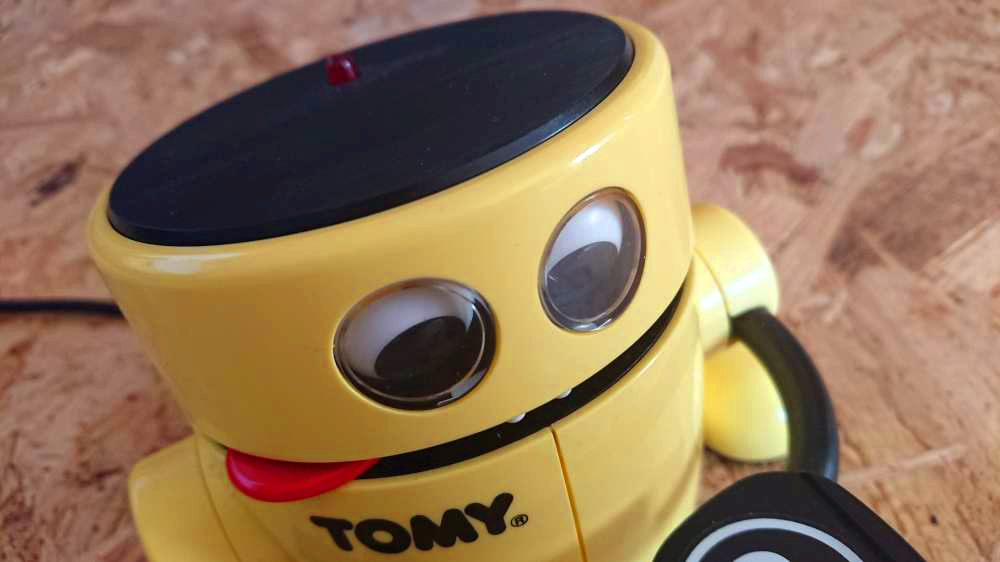
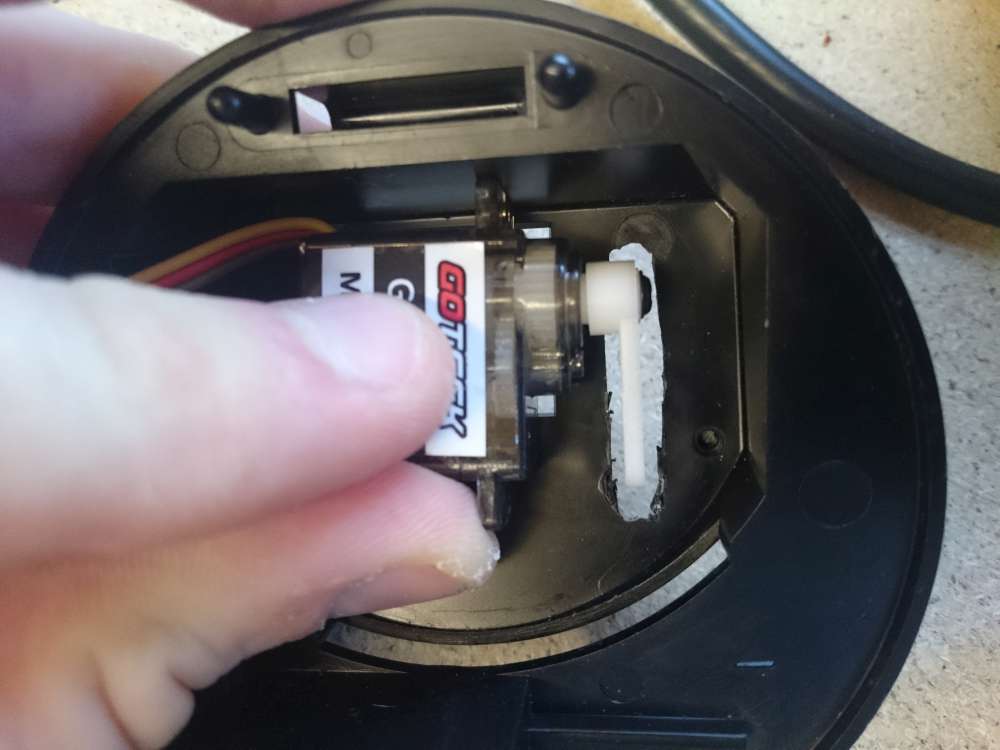
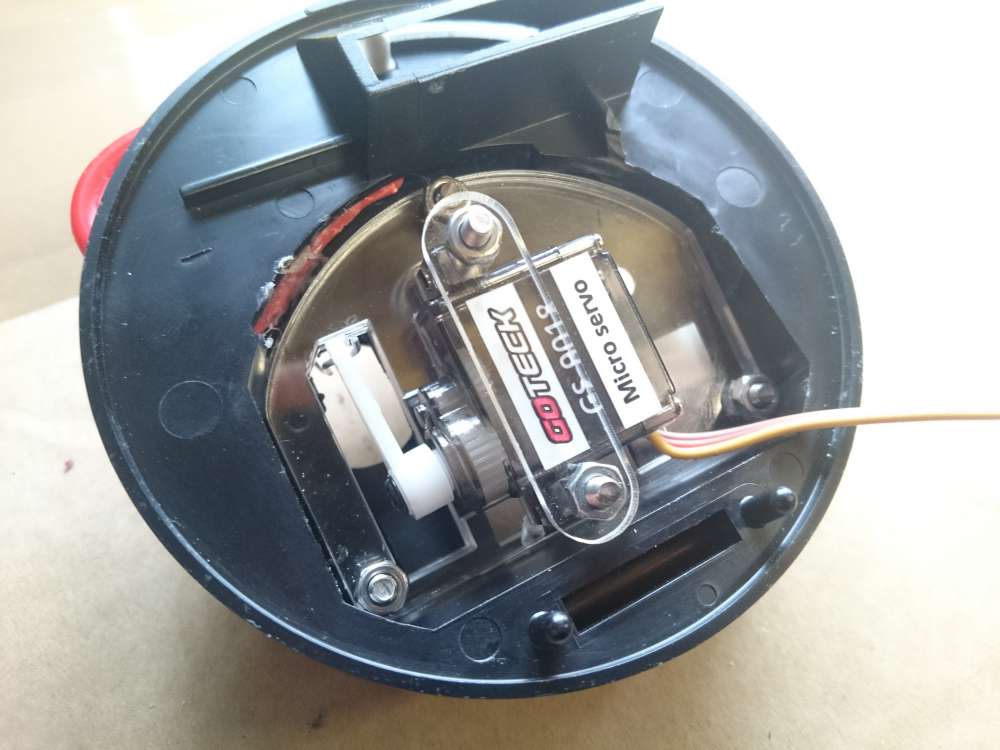
Another key function of the original toy is the opening and closing head which I really wanted to have move as it talks.
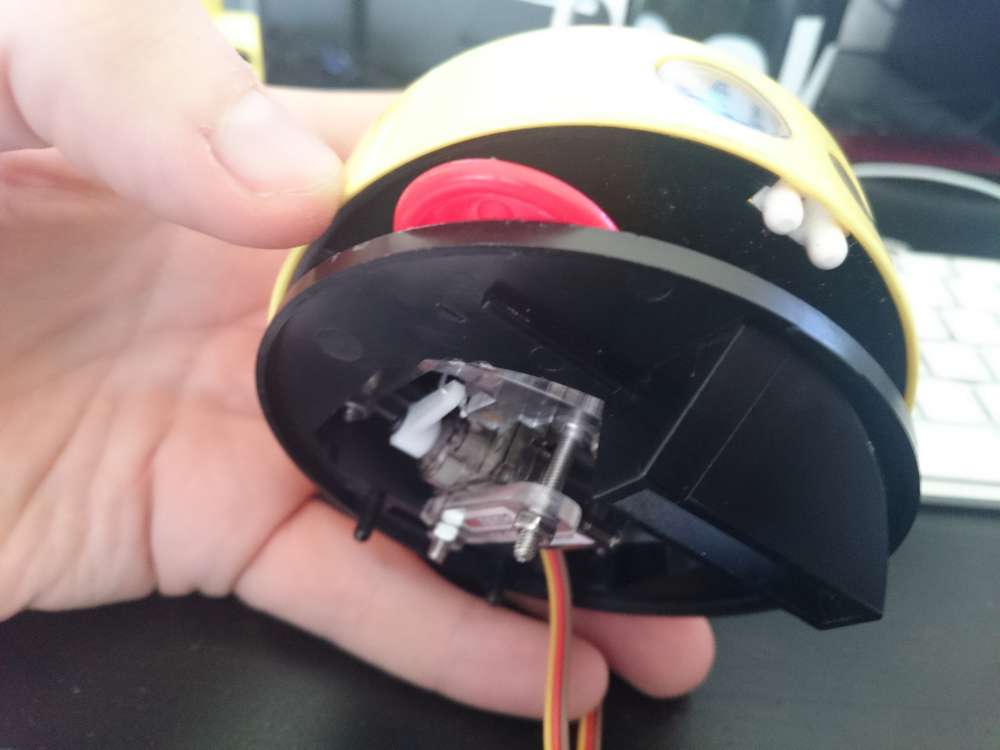
To achieve this I chose to use a micro servo. I figured out a mounting point for the servo in the neck area on the underside of the head. To hold the servo in place I created a bracket on the laser cutter and fixed it to the head. To make the head actually move, I attached some paper clip wire from the servo horn through a small hole I made in the upper part of the head. Now when the servo moves it pushes and pulls the head open and closed.


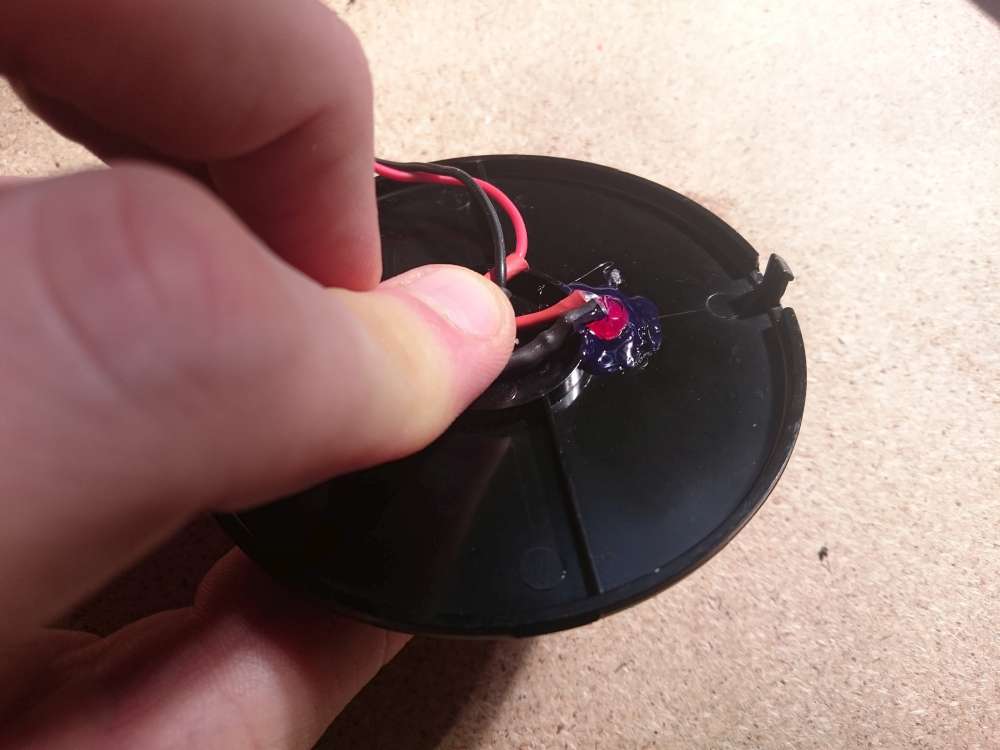
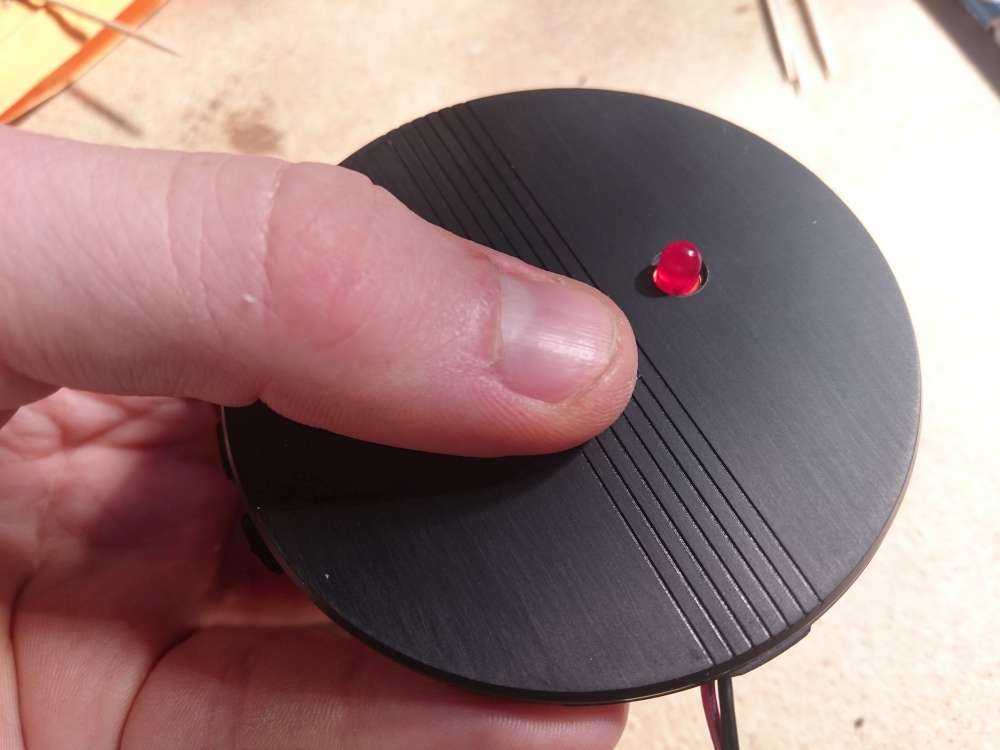
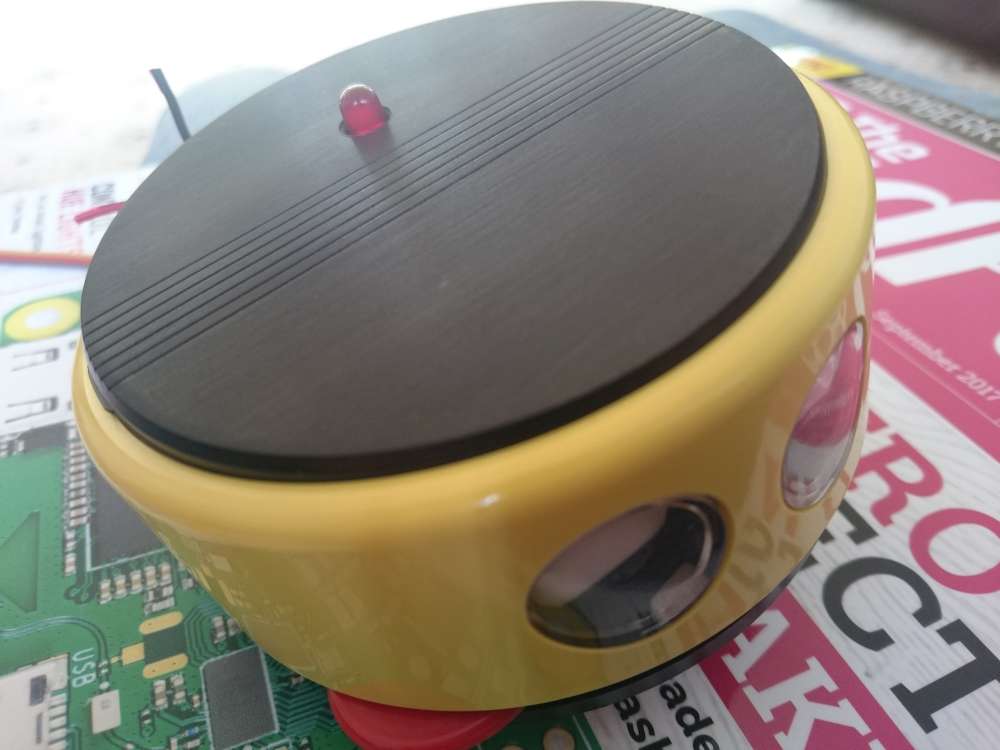
One element I wanted to add was some kind of status LED to see what state the Pi was in. The AIY code already accommodates a status LED, so all I had to do was plumb it in. To keep it on theme, I thought I’d attached this to the head as a kind of antenna. To do this, I drilled a hole, then hot glued the LED in to place and ran wires down the next into the body compartment for wiring up later. To help limit the brightness of the LED a resistor was added in line with the LED.
Another element I liked from the original toy was the moving tongue, however I couldn’t find a way to incorporate this (did I mention space was tight?) so unfortunately I just had to cut it down and glue it in to place so I could at least keep the aesthetic.

The Speaker
As mentioned already, to allow the little guy to talk I decided to use the speaker pHat from Pimoroni. This does come with a speaker, however it isn’t the loudest so I decided to replace the speaker with another one I had. To be honest, the new speaker wasn’t much better spec’d, however I was able to wedge it against the base which made it reverberate much better when everything was closed up.
The Wiring
With all the components now in place it was just a case of wiring them up. To do this I used a Pico Hat Hacker, another Pimoroni special. So as not to interfere with the other components though I decided to mount it to the bottom of the Pi, rather than between the stacked pHat’s as is custom.

I wired the button and the servo as per the pinout used by the official Voicehat.
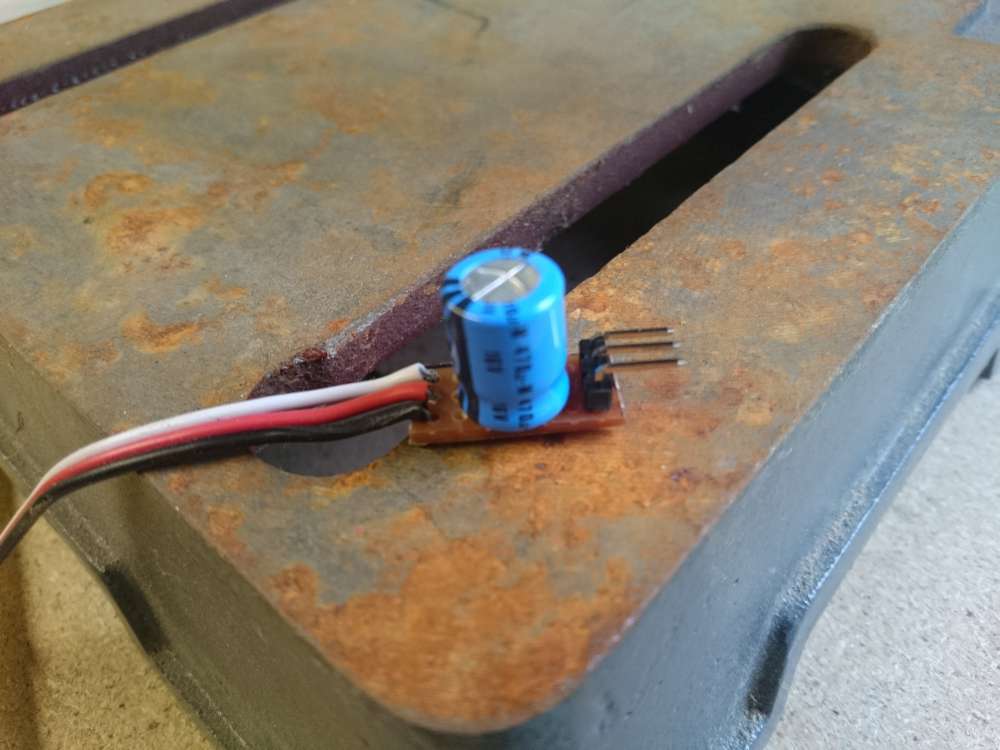
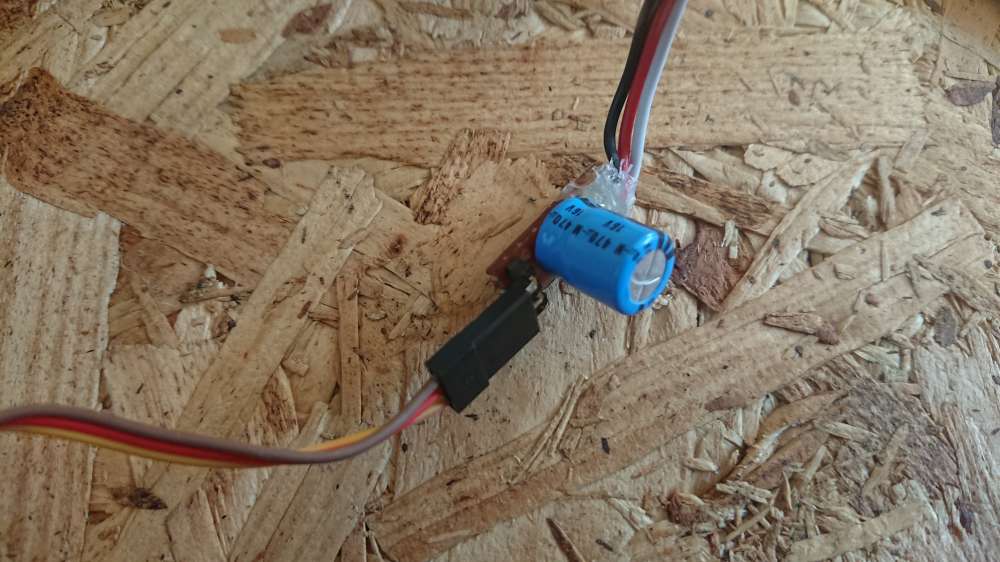
For the servo, I wanted to power this from the Pi itself so that I didn’t need an extra power supply. Given its only one micro servo this isn’t too much of a problem, but I wanted to put a precaution in place to try and prevent any current dips and spikes. For this I created a mini breakout board with a large capacitor bridging the power and ground lines so when the servo starts or stalls, it can pull or push a spike of current from the cap, rather than the Pi.
The Code
With all the hardware side complete, it was time to move on to the code side of things.
Basic Setup
The first thing to do is install the official AIY Project Voice Kit SD Image onto an SD card. I won’t go into detail on how to do this, but if you are unsure, you can find instructions on the official Raspberry Pi site. You’ll also want to configure a wifi connection.
Configure sound / mic
The standard AIY SD image is designed to work with the official voicehat hardware, however we are using the speaker pHat and a USB mic, so we’ll need to configure these.
First up, we’ll re-enable the default audio configuration by editing the boot config:
sudo nano /etc/boot.config
Scroll down to the bottom of the file and comment out 2 lines responsible for the google kit soundcard and enable the default driver:
dtparam=audio=on
#dtoverlay=i2s-mmap
#dtoverlay=googlevoicehat-soundcard
Next up, we’ll install the speaker pHat drivers by issuing the following command:
sudo curl -sS https://get.pimoroni.com/speakerphat | bash
Finally, we’ll make a few changes to the audio settings. The first being to disable the speaker pHats VU meter and secondly to combine the USB mic and speaker pHat driver into a single configuration. To do this, open up the audio settings config file in an editor:
sudo nano /etc/asound.conf
And then replace its contents with the following:
pcm.!default {
  type asym
  capture.pcm "mic"
  playback.pcm "speaker"
}

ctl.!default {
    type hw
    card 0
}

pcm.mic {
  type plug
  slave.pcm "hw:1,0"
}

pcm.speaker {
  type plug
  slave.pcm "softvol"
}

pcm.dmixer {
    type dmix
    ipc_key 1024
    ipc_perm 0666
    slave.pcm 'hw:0,0'
    slave {
        period_time 0
        period_size 1024
        buffer_size 8192
    }
    bindings {
        0 0
        1 1
    }
}

ctl.dmixer {
    type hw
    card 0
}

pcm.softvol {
    type softvol
    slave.pcm "dmixer"
    control {
        name "PCM"
        card 0
    }
}
Configure AIY
Next up is to configure AIY. There quite a few steps to go through here, but thankfully Goole have done a really good job of documenting this step so rather than repeat this, I’ll just point you to the official docs and have you come back once you’re all set. Don’t worry, I’ll wait.
At this point you should have the AIY project working and responding to our commands, so now it’s time to add out little flourishes.
Configure Servo
The first of the changes is to have the head move. I decided on 3 states. The first was to open the head when you start a new question. Then it should move in a talking motion as it reads a response, and lastly it should close once again when it’s finished speaking.
To help with this, I created a small python class using RPi.GPIO to control the servo
import itertools
import logging
import threading
import time

import RPi.GPIO as GPIO

logger = logging.getLogger('mouth')

MIN_PWM_DC = 10
MAX_PWM_DC = 20

class Mouth:

    def __init__(self, channel):
        self.animator = threading.Thread(target=self._animate)
        self.channel = channel
        self.iterator = None
        self.running = False
        self.state = None
        self.sleep = 0

        GPIO.setup(channel, GPIO.OUT)

    def start(self):
        self.running = True
        self.animator.start()

    def stop(self):
        self.running = False
        self.animator.join()
        GPIO.output(self.channel, GPIO.LOW)

    def set_state(self, state):
        self.state = state

    def _start(self, dc):
        self.pwm = GPIO.PWM(self.channel, 100)
        self.pwm.start(dc)

    def _animate(self):
        while self.running:
            if self.state:
                if self.state == 'open':
                    self.iterator = None
                    self.sleep = 0.0
                    self._start(MAX_PWM_DC)
                    time.sleep(0.18)
                    self.pwm.stop()
                elif self.state == 'close':
                    self.iterator = None
                    self.sleep = 0.0
                    self._start(MIN_PWM_DC)
                    time.sleep(0.18)
                    self.pwm.stop()
                elif self.state == 'talk':
                    self.iterator = itertools.cycle([MIN_PWM_DC, MAX_PWM_DC])
                    self.sleep = 0.18
                    self._start(MIN_PWM_DC)
                else:
                    logger.warning("unsupported state: %s", self.state)
                self.state = None
            if self.iterator:
                self.pwm.ChangeDutyCycle(next(self.iterator))
                time.sleep(self.sleep)
            else:
                time.sleep(1)

def main():
    logging.basicConfig(
        level=logging.INFO,
        format="[%(asctime)s] %(levelname)s:%(name)s:%(message)s"
    )

    mouth = None
    try:
        GPIO.setmode(GPIO.BCM)

        mouth = Mouth(12)
        mouth.start()
        while True:
            try:
                state = input()
                if not state:
                    continue
                mouth.set_state(state)
            except EOFError:
                time.sleep(1)
    except KeyboardInterrupt:
        pass
    finally:
        mouth.stop()
        GPIO.cleanup()

if __name__ == '__main__':
    main()
There is quite a bit going on here, but mostly I just copied from the existing LED.py and adjusted it for my needs. One thing I did find during this, was that the servo would jitter quite a bit when holding a position, so to get around this, I just disengage the servo whenever it stops a motion. Thankfully the head is stiff enough that it holds its position, so this is not a problem.
I saved this code in a Mouth.py file in a folder ~/voice-recognizer-raspi/src/classes along with a blank file __init__.py which allows the class to be imported into other python code in the same folder.
With this saved, it was now a case of importing it in the Main.py file, and incorporating it into the main code base.
In the includes section at the top, add an include to our file and one for the RPi.GPIO class.
from classes.mouth import Mouth
import RPi.GPIO as GPIO
Then in the main function, setup an instance of the mouth class
GPIO.setmode(GPIO.BSM)
mouth = Mouth(12)
mouth.start()
Now, we need to get our mouth instance to the SyncMicRecognizer class so we need to pass it through the do_recognition method first. To do this, just add a mouth param to the method declaration and one to the constructor of SyncMicRecognizer and pass the mouth instance through when the method is called and when the class is instantiated.
Within the SyncMicRecognizer class, we’ll make a few changes to trigger our mouth actions. First off, update the _status method like so:
def _status(self, status):
    if self.led_fifo:
      with open(self.led_fifo, 'w') as led:
        led.write(status + '\n')
    logger.info('%s...', status)

    if status == 'listening':
      self.mouth.set_state('open')
    elif status == 'ready':
      self.mouth.set_state('close')
The start is the standard code, it’s just the bottom bit that we’ve add to trigger out mouth to open and close.
Next, we will trigger the talking action by editing the _handle_result method and setting the talk state whenever we start to play a sound
def _handle_result(self, result):
  if result.transcript and self.actor.handle(result.transcript):
    logger.info('handled local command: %s', result.transcript)
  elif result.response_audio:
    self.mouth.set_state('talk')
    self._play_assistant_response(result.response_audio)
  elif result.transcript:
    logger.warning('%r was not handled', result.transcript)
    self.mouth.set_state('talk')
    self.say(_("I don’t know how to answer that."))
  else:
    logger.warning('no command recognized')
    self.mouth.set_state('talk')
    self.say(_("Could you try that again?"))
With this, we should now have our head moving whenever we ask our little guy a question.
NOTE At this point, I started seeing a segmentation fault. To be honest, I don’t know what was causing this, but the following command seemed to fix it:
ulimit -s 32768
Change Voice Pitch
The last thing I wanted to do was make the voice fit our little robot. For me, the default Google voice wasn’t quite cute enough. To achieve this I decided to swap out the default player used by AIY for SOX, a robust sound processing program that supports a bunch of filters, including pitch shifting.
First up you’ll want to install sox
sudo apt-get install sox
Then we’ll modify the Player class inside the audio.py file to use the sox player rather than aplay. In this class, change the cmd array to the following:
cmd = [
  'play',
  '-q',
  '-t', 'raw',
  '-c', '1',
  '-e', 'signed',
  '-b', sample_width_to_sox_string(sample_width),
  '-r', str(sample_rate),
  '-',
  'pitch', '800'
]
We’ll also need to add a custom sample_width_to_sox_string helper method to the top of the file:
def sample_width_to_sox_string(sample_width):
  """Convert sample width (bytes) to SOX format string."""
  return {1: '8', 2: '16', 4: '32'}[sample_width]
And with that, we should have our little guy speaking in a much more suitable pitch for it’s size :)
Conclusion
This was actually meant to be a pretty quick build for me, but it ended up being quite a big mod, however I’m really happy with the result and I’m glad I persisted with the requirements of the moving head and pitch shifted voice.
Full disclosure I actually started this project a while ago, and got stumped with the code and only just finished it recently. Unfortunately the AIY code has changed a bit since I started so some of the steps might not be immediately copy and paste-able, but I hope it at least gives you a good starting point if you do end up trying it for yourself.
Something you'd like to ask or comment on? Connect with me on Twitter.
Tweet Me